If you’re starting your journey in IT administration or preparing for certifications like CompTIA Network+ or Microsoft’s server exams, understanding the difference between workgroups and domains is fundamental. Many beginners get confused when they hear terms like “peer-to-peer network,” “standalone server,” or “domain controller”—but these concepts are simpler than they seem once you see them in action.
Reading time: 10 minutes
What You’ll Learn:
- What workgroups are and how peer-to-peer networks function
- The critical 10-computer limitation and why it exists
- How authentication works in workgroup environments
- Practical differences between standalone servers and domain controllers
- When to use workgroups vs. domains in real-world scenarios
What is a Workgroup? Understanding Peer-to-Peer Networks
A workgroup is a collection of computers connected on a network where each machine operates independently without a central server controlling access. This type of setup is called a peer-to-peer (P2P) network because every computer has equal status—there’s no hierarchy.
Think of a workgroup like a group of friends sharing notes. Each person keeps their own notebook, and if someone wants to borrow notes, they have to ask that specific person directly. There’s no central library managing everything.
Key Characteristics of Workgroups
The 10-Computer Rule
Workgroups should never exceed 10 computers. This isn’t just a recommendation—it’s a practical limitation. Beyond 10 machines, managing user accounts, permissions, and resources becomes administratively overwhelming.
No Server Required
You don’t need Windows Server for a workgroup. All machines can run client operating systems:
- Windows 10
- Windows 11
- Windows 12 (future releases)
Each computer acts as both a client and a server, sharing resources when needed.
Decentralized Management
Every computer maintains its own:
- Local user accounts
- Security policies
- Shared resources
- Access permissions
This is the opposite of centralized control found in domain environments.
How Workgroups Actually Work: A Practical Example
Let’s walk through a real-world scenario to understand workgroup mechanics.
Checking Your Workgroup Status
On any Windows computer, you can verify if you’re in a workgroup:
- Right-click This PC and select Properties
- Look for “Domain or workgroup” section
- If it says Workgroup, you’re in a peer-to-peer network
- If it shows a domain name, you’re connected to Active Directory
Alternative method using System Properties:
- Press
Windows + Pause/Breakkeys - Navigate to Computer name, domain, and workgroup settings
- Click Change settings to see full details
💡 Tip: In a corporate environment with hundreds of computers, you should never see “Workgroup”—that’s a red flag indicating the machine isn’t properly joined to the domain.
Creating and Managing Local Accounts
Since workgroups lack centralized user management, you must create accounts locally on each machine. Here’s how it works:
On Windows Server (in workgroup mode):
- Open Computer Management:
compmgmt.msc - Navigate to Local Users and Groups → Users
- Right-click and select New User
- Create username (e.g.,
admin1) and set password - Uncheck “User must change password at next logon” for simplicity
Default accounts you’ll see:
- Administrator (often disabled for security)
- Guest (disabled by default)
- Any custom accounts you create
⚠️ Important: The admin1 account created on the server does not exist on other workgroup computers. You must recreate it manually on each machine where access is needed.
File Sharing in Workgroup Environments
Setting Up a Network Share
Let’s create a shared folder that other workgroup computers can access:
Step 1: Create the folder
C:\Testing
Step 2: Add content
Create a text file inside with some content:
C:\Testing\testing.txt
Step 3: Share the folder
- Right-click the folder → Properties
- Go to Sharing tab → Advanced Sharing
- Check Share this folder
- Note the UNC path:
\\ComputerName\Testingor\\192.168.223.134\Testing
Viewing Active Shares via Command Line
You can check all shared resources using built-in commands:
net share
Expected Output:
Share name   Resource              Remark
-----------------------------------------------------------------
C$           C:\                   Default share
ADMIN$       C:\Windows            Remote Admin
IPC$                               Remote IPC
Testing      C:\Testing
The $ symbol indicates hidden administrative shares that aren’t visible in network browsing.
Using Computer Management GUI:
- Open Computer Management (
compmgmt.msc) - Navigate to System Tools → Shared Folders
- View Shares, Sessions, and Open Files
This interface shows real-time information about who’s accessing what resources.
Accessing Shared Resources Across the Workgroup
Authentication Requirements
When you try to access a shared folder from another workgroup computer, Windows will prompt for credentials. This is fundamentally different from domain environments where you authenticate once.
Accessing from Client Computer:
- Press
Windows + Rto open Run dialog - Type the UNC path:
\\192.168.223.134 - Enter credentials when prompted:
- Username:
administratororadmin1 - Password: (the password set on the server)
- Username:
Why authentication is required:
Each computer has its own separate user database. When you access \\ServerComputer\Testing, that server doesn’t automatically trust your local login. You must prove you have an account on that specific server.
Viewing Active Connections
On the server, check who’s connected:
net sessions
Expected Output:
Computer      User name       Client Type    Opens  Idle time
---------------------------------------------------------------
\\WINDOWS11-1 ADMIN1         Windows 11     2      00:00:01
\\WINDOWS11-2 ADMINISTRATOR  Windows 11     1      00:00:15
This shows two client computers connected with different accounts.
Alternative: GUI method
- Open Computer Management → Shared Folders → Sessions
- See connected computers, usernames, and connection duration
- Right-click to disconnect users if needed
Network Activity and Port Analysis
Understanding SMB Protocol
When sharing files in Windows, you’re using Server Message Block (SMB) protocol, which operates on port 445.
Check active network connections:
netstat -an
Expected Output:
Proto  Local Address          Foreign Address        State
TCP    192.168.223.134:445    192.168.223.131:49872  ESTABLISHED
TCP    192.168.223.134:445    192.168.223.132:49901  ESTABLISHED
What this shows:
- 192.168.223.134:445 → Server listening on SMB port
- 192.168.223.131:49872 → First client using ephemeral port 49872
- 192.168.223.132:49901 → Second client using ephemeral port 49901
Ports above 49152 are dynamic/private ports assigned randomly by the client OS for outbound connections.
💡 Tip: If you can’t access network shares, check if port 445 is blocked by Windows Firewall or third-party security software.
The Administrative Burden of Workgroups
Decentralized Management Challenges
Every administrative task must be performed locally on each computer:
User Management:
- Create accounts on every machine where access is needed
- Reset passwords individually on each computer
- Disable compromised accounts on all systems manually
Security Policies:
- Configure password policies separately on each machine
- Set screen lock timeouts individually
- Manage firewall rules per computer
Resource Sharing:
- Create shares on each computer hosting resources
- Configure permissions multiple times
- Track who has access to what manually
Real-World Scenario
Imagine managing a 10-computer workgroup:
- New employee joins → Create account on 10 computers
- Employee forgets password → Reset on 10 computers
- Employee leaves → Disable account on 10 computers
- Security policy update → Configure on 10 computers individually
This becomes unmanageable quickly, which is why workgroups are limited to small environments.
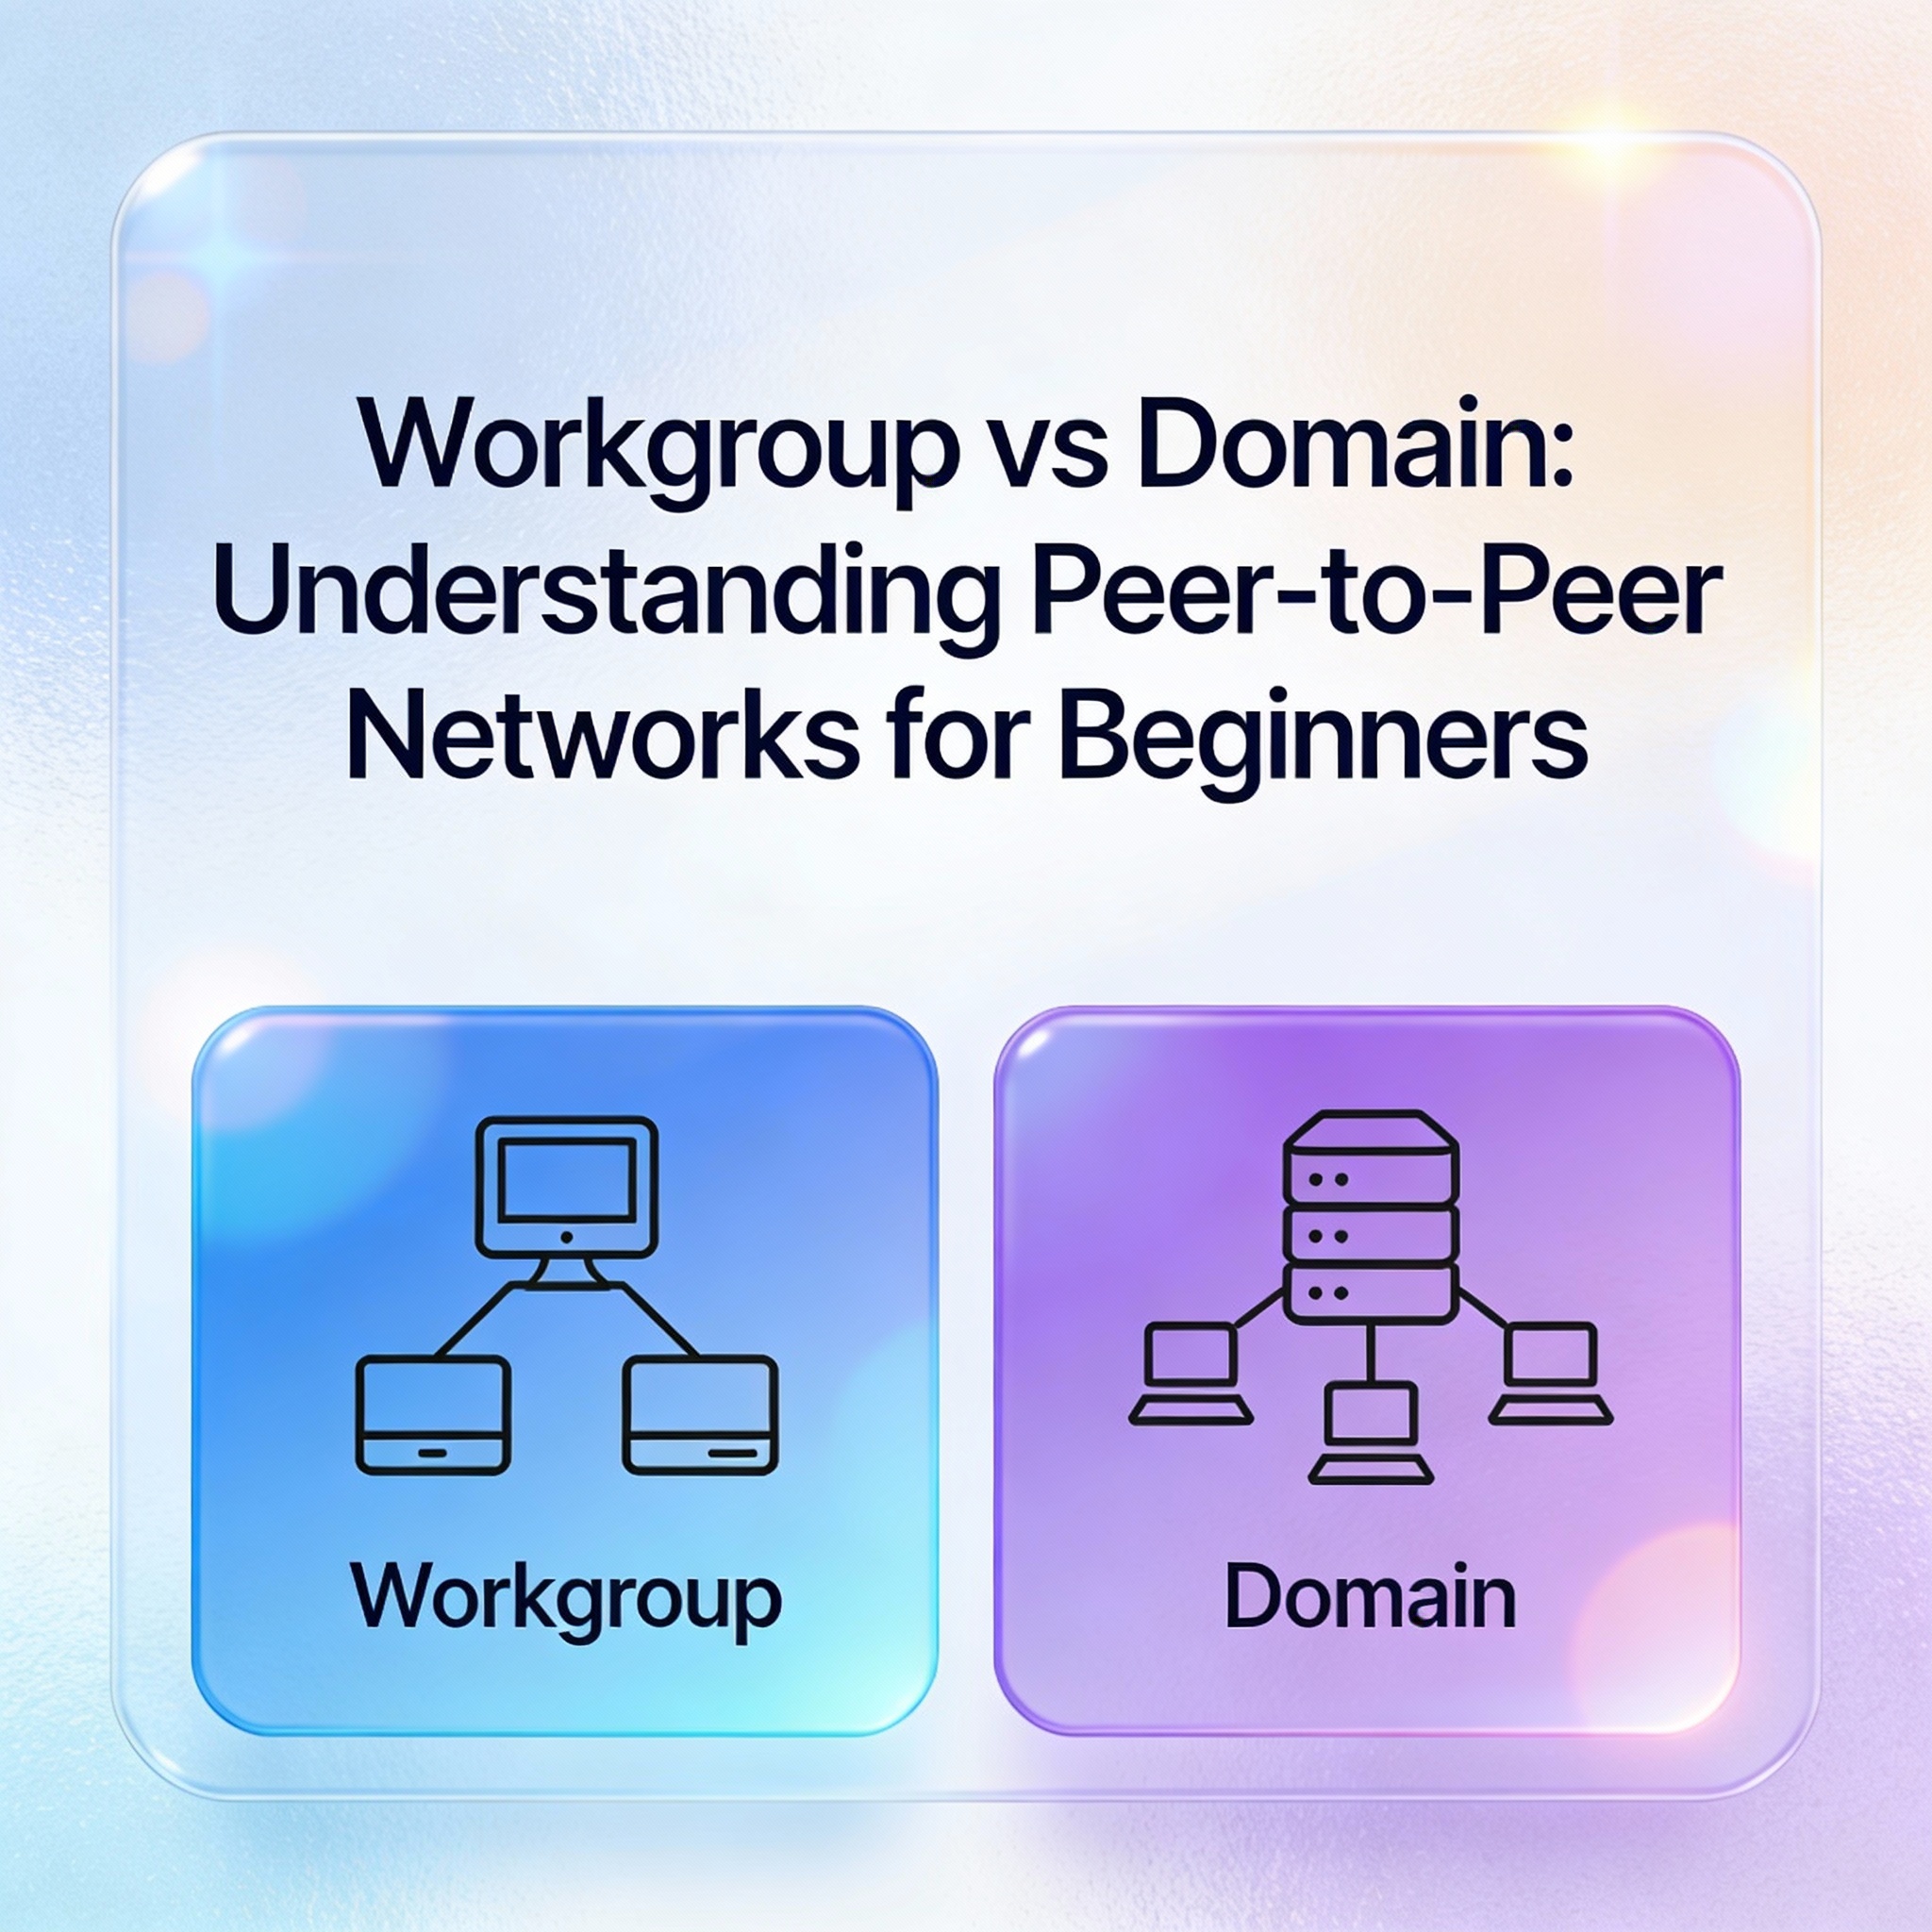
Workgroup vs Domain: The Fundamental Difference
What Makes Workgroups Different
Workgroup (Standalone Server):
- Each computer maintains its own user database
- No centralized authentication
- Manual account management
- Limited to 10 computers
- No group policies
- Suitable for homes or tiny offices
Domain (Active Directory):
- Centralized user database on domain controller
- Single sign-on across all computers
- Automated account provisioning
- Scalable to thousands of computers
- Group Policy for mass configuration
- Required for enterprise environments
When Domains Become Necessary
Organizations move from workgroups to domains when they need:
- Centralized user management (create once, access everywhere)
- Single sign-on (log in once, access all resources)
- Security policies applied automatically across all computers
- Scalability beyond 10 machines
- Audit trails for compliance requirements
As one IT professional put it: “Managing a workgroup with 10 computers is like herding cats. Managing a domain with 1,000 computers is like conducting an orchestra.”
Transition from Standalone to Domain Controller
What is a Standalone Server?
Your Windows Server in a workgroup is called a standalone server:
- Has no Active Directory installed
- Manages only local resources
- Part of a workgroup, not a domain
- Cannot provide centralized authentication
The Domain Controller Transformation
When you install Active Directory Domain Services (AD DS) on a standalone server:
- It becomes a Domain Controller (DC)
- Creates a centralized user database
- Enables Group Policy management
- Allows computers to join the domain
- Provides single sign-on capabilities
This transformation is the core focus of server administration courses and the foundation of enterprise IT infrastructure.
Practical Tips and Best Practices
Network Configuration
Disable IPv6 if not in use:
Many lab environments don’t require IPv6, and disabling it simplifies troubleshooting.
- Open Network Connections
- Right-click your adapter → Properties
- Uncheck Internet Protocol Version 6 (TCP/IPv6)
- Click OK
This prevents potential dual-stack conflicts in simple workgroup environments.
Security Considerations
Password sharing risks:
In workgroups, you must share account passwords to grant access. This creates security vulnerabilities:
- Users know passwords for multiple machines
- No audit trail of who accessed what
- Difficult to enforce password rotation
- Shared accounts violate security best practices
⚠️ Warning: Never use workgroups for environments handling sensitive data or requiring compliance (HIPAA, PCI-DSS, SOC 2).
Monitoring and Troubleshooting
Commands for quick diagnostics:
# View all shares
net share

# See connected users
net sessions

# Check network connections
netstat -an | findstr :445

# Verify workgroup name
systeminfo | findstr /B /C:"Domain"
Common issues:
- “Access denied” → Wrong username/password or account doesn’t exist locally
- “Network path not found” → Firewall blocking port 445 or computer offline
- “Logon failure” → Account exists but password is incorrect
Key Takeaways
- Workgroups are peer-to-peer networks limited to 10 computers with no central server
- User accounts must be created locally on every machine where access is needed
- Authentication is required each time you access a different computer’s resources
- Management is decentralized—every configuration happens individually on each computer
- Standalone servers in workgroups become domain controllers when Active Directory is installed
- SMB protocol (port 445) handles file and print sharing in Windows networks
Frequently Asked Questions
Can I have more than 10 computers in a workgroup?
Technically yes, but it’s administratively impractical. Beyond 10 machines, the overhead of managing local accounts and permissions becomes unmanageable.
What’s the difference between a standalone server and a member server?
A standalone server is in a workgroup. A member server is joined to a domain but isn’t a domain controller—it provides services like file sharing or web hosting.
Do I need Windows Server for a workgroup?
No. Workgroups can consist entirely of Windows 10/11 client machines. Windows Server is only necessary when you want to centralize resources or prepare to create a domain.
Can workgroup computers access domain resources?
Yes, but they must authenticate each time with domain credentials. They won’t benefit from single sign-on or Group Policy.
Why does my home network show as a workgroup?
Home networks default to workgroup configuration because they don’t need enterprise features like Active Directory. It’s perfectly normal for non-business environments.
Next Steps: Moving Beyond Workgroups
Now that you understand workgroup fundamentals, you’re ready to explore enterprise networking:
Immediate next steps:
- Set up a lab workgroup with 2-3 virtual machines
- Practice creating local accounts and sharing folders
- Monitor network sessions and connections
- Experiment with net commands for troubleshooting
Preparing for Active Directory:
- Understand DNS basics (required for domains)
- Learn Windows Server installation
- Study LDAP and Kerberos authentication concepts
- Practice promoting a server to domain controller
Recommended learning path:
- Complete hands-on workgroup exercises (this week)
- Install Windows Server in a VM (week 2)
- Configure Active Directory Domain Services (week 3)
- Join client computers to the domain (week 4)
📌 Pro Tip: Keep a workgroup test environment alongside your domain lab. Comparing the two side-by-side helps solidify the differences and appreciate why domains exist.
Ready to take the next step? Check out my upcoming post on “Installing Active Directory: Your First Domain Controller” where we’ll transform that standalone server into the brain of an enterprise network.
Have you worked with workgroups before? What challenges did you face managing multiple computers? Share your experiences in the comments—I’d love to hear about real-world workgroup scenarios!
