You can’t truly learn Active Directory by reading about it—you need to get your hands dirty with actual configurations, user creations, and inevitable troubleshooting. Setting up your own AD lab gives you a safe sandbox where mistakes don’t cause production outages, and experimentation costs nothing but time.
This guide walks you through building a complete Active Directory lab environment from scratch, using free tools that run on your personal computer. Whether you’re preparing for certifications like CompTIA Server+, studying for your first sysadmin role, or simply want to understand enterprise infrastructure, this lab becomes your personal training ground.
Reading Time: 15 minutes
What You’ll Learn:
- Hardware and software requirements for your AD lab
- Installing Windows Server 2025 on VMware/VirtualBox
- Configuring your first domain controller
- Setting up network connectivity and static IPs
- Troubleshooting common lab setup issues
- Next steps after your lab is running
Prerequisites: Basic computer skills, ability to download files, and familiarity with Windows interfaces. No prior server administration experience required.
Why Build Your Own Lab?
Before investing time in setup, understand what you gain from a personal Active Directory lab:
Safe learning environment: Test configurations, break things, and rebuild without affecting real users or production systems.
Hands-on practice: Transform theoretical knowledge into practical skills by actually creating users, configuring Group Policies, and troubleshooting authentication.
Cost-effective: Use free evaluation versions of Windows Server and free virtualization software—no enterprise licenses required.
Portfolio building: Document your lab projects for resumes and interviews, demonstrating genuine hands-on experience.
Certification preparation: Practice exam scenarios for MCSA, CompTIA Server+, and other certifications in realistic environments.
💡 Career Insight: Hiring managers value candidates who maintain home labs. It demonstrates initiative, continuous learning, and genuine interest beyond just collecting certifications.
Lab Requirements and Prerequisites
Hardware Requirements
Your host computer needs sufficient resources to run multiple virtual machines simultaneously. Here are the minimum and recommended specifications:
Minimum configuration:
- CPU: Dual-core processor with virtualization support (Intel VT-x or AMD-V)
- RAM: 8GB (allows 1 server VM + 1 client VM)
- Storage: 80GB free disk space
- OS: Windows 10/11, macOS, or Linux
Recommended configuration:
- CPU: Quad-core processor or better
- RAM: 16GB+ (enables multiple servers and clients)
- Storage: 120GB+ SSD for faster performance
- OS: Windows 11 Pro or Enterprise
⚠️ Critical Requirement: You must enable virtualization in your BIOS/UEFI settings. Without this, virtual machines won’t run or will be extremely slow. Check your motherboard manual for “Intel VT-x” or “AMD-V” settings.
Software Downloads
Gather these components before starting your lab setup:
Virtualization platform (choose one):
- VMware Workstation Player (free for non-commercial use): Download
- VirtualBox (completely free and open-source): Download
Operating system ISO files:
- Windows Server 2025 (180-day evaluation): Download
- Windows Server 2022 (alternative): Downlaod
- Windows Server 2019 (older but stable): Download
- Windows 11 (for client machines): Download
Which versions should you use?
For this tutorial, I recommend Windows Server 2025 for your domain controller and Windows 11 for client machines. However, Server 2019 and 2022 work identically for basic Active Directory functionality—use whichever you successfully download.
💡 Download Tip: ISO files are large (4-6GB each). Download them during off-peak hours if you have limited bandwidth, and verify the download completes successfully before starting installation.
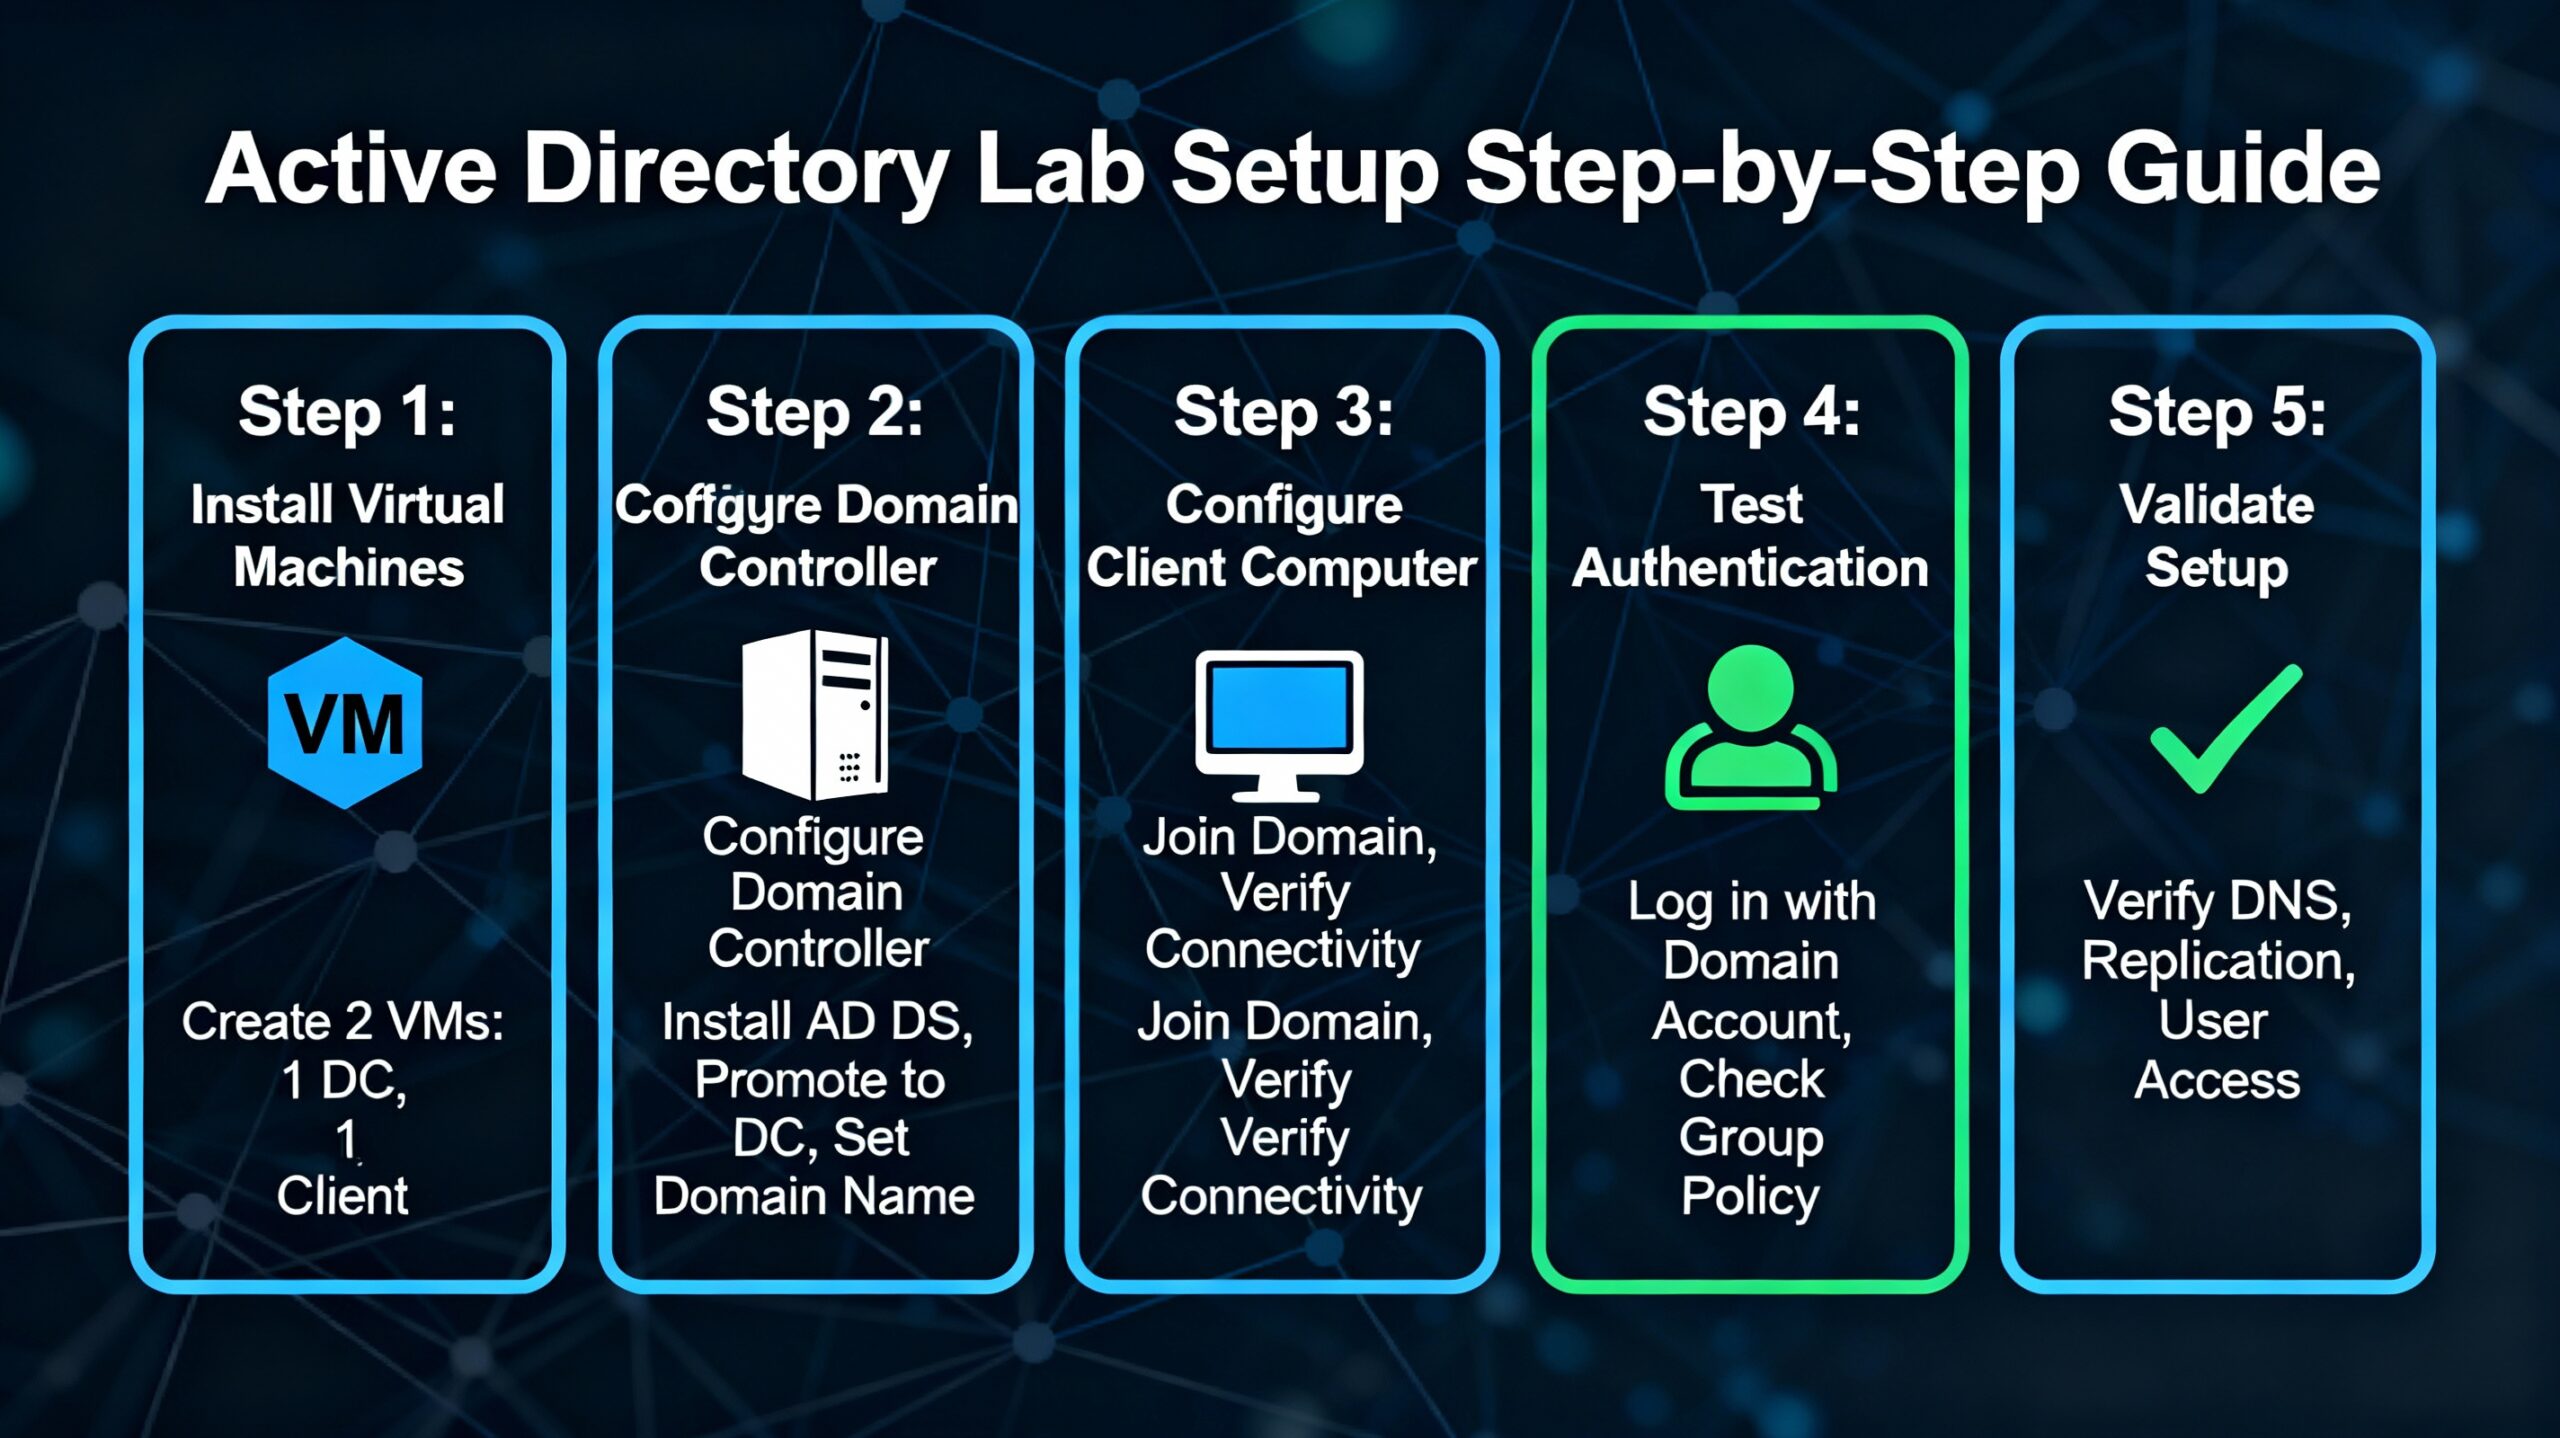
Step 1: Create Your Virtual Machine
We’ll use VMware Workstation Player for these instructions, but VirtualBox follows nearly identical steps.
Setting Up the Server VM
- Launch VMware Workstation Player and click Create a New Virtual Machine.
- Select installation method:
- Choose Installer disc image file (ISO)
- Click Browse and navigate to your
Windows_Server_2025.isofile - Click Next
- Configure guest operating system:
- Select Microsoft Windows as the OS type
- Choose Windows Server 2022 from the dropdown (2025 uses the same base)
- Click Next
- Name your virtual machine:
- Virtual machine name:
WS2025-DC1(Domain Controller 1) - Location: Choose a folder with sufficient space
- Click Next
- Virtual machine name:
- Specify disk capacity:
- Customize hardware (click Customize Hardware before finishing):
Your virtual machine is now created but not yet started.
Step 2: Install Windows Server
Now we’ll boot the VM and install the operating system.
Installation Process
- Start the virtual machine by clicking Play virtual machine in VMware.
- Boot from ISO:
- The VM boots from your Windows Server ISO automatically
- You may see “Press any key to boot from CD or DVD”—press a key quickly
- Windows Setup begins:
- Language: English (United States)
- Time and currency format: Your local settings
- Keyboard: US or your layout
- Click Next, then Install now
- Select operating system edition:
- Accept license terms:
- Check I accept the Microsoft Software License Terms
- Click Next
- Choose installation type:
- Select Custom: Install Windows only (advanced)
- Click Next
- Disk partitioning:
- You’ll see your 60GB unallocated space
- Click New to create a partition
- Accept the default size (uses entire disk)
- Click Apply—Windows creates a small system reserved partition automatically
- Click OK on the warning
- Select the primary partition (largest one)
- Click Next
- Installation proceeds:
- Files copy and extract (takes 15-30 minutes depending on your hardware)
- VM reboots automatically 1-2 times—do not remove the ISO yet
- Installation completes when you see the password setup screen
First Login Configuration
- Set Administrator password:
- Windows prompts you to create a password for the built-in Administrator account
- Use a strong password: Passw0rd! or P@ssw0rd123 (meets complexity requirements)
- Confirm the password
- Click Finish
- Login to Windows Server:
- Press Ctrl+Alt+Insert in VMware (this sends Ctrl+Alt+Delete to the VM)
- Enter your Administrator password
- Press Enter
- Server Manager launches automatically—this is your main administrative interface.
🔐 Security Note: These simple passwords work for isolated lab environments. Never use predictable passwords in production environments or internet-facing systems.
Step 3: Post-Installation Configuration
Before installing Active Directory, configure essential server settings.
Set Computer Name
- In Server Manager, click Local Server in the left navigation.
- Find Computer name (shows random name like WIN-XYZ123).
- Click the computer name link.
- In System Properties, click Change.
- Computer name: Enter
DC1(Domain Controller 1). - Click OK, then OK again.
- Click Restart Now when prompted.
- Log back in after reboot using Ctrl+Alt+Insert.
Configure Static IP Address
Active Directory requires a static IP address—DHCP-assigned addresses that change will break your domain.
- In Server Manager > Local Server, click the Ethernet link (shows current IP).
- Right-click your network adapter and select Properties.
- Double-click Internet Protocol Version 4 (TCP/IPv4).
- Select Use the following IP address and enter:
- IP address:
192.168.1.10 - Subnet mask:
255.255.255.0 - Default gateway:
192.168.1.1(your router)
- IP address:
- Select Use the following DNS server addresses:
- Preferred DNS server:
127.0.0.1(loopback—server will be its own DNS) - Alternate DNS server:
8.8.8.8(Google DNS for internet resolution)
- Preferred DNS server:
- Click OK, then Close.
- Test connectivity:
- Open Command Prompt (search for
cmd) - Type:
ping 8.8.8.8 - You should see replies—this confirms internet connectivity
- Open Command Prompt (search for
Install VMware Tools
VMware Tools improves mouse movement, screen resolution, and performance.
- In VMware menu: VM > Install VMware Tools.
- In the VM, open File Explorer.
- Double-click the DVD Drive (VMware Tools).
- Run setup64.exe.
- Click Next through the wizard, accepting defaults.
- Click Install, then Finish.
- Restart when prompted.
Enable Remote Desktop (Optional)
Allows you to connect from your host computer instead of using the VMware console.
- In Server Manager > Local Server.
- Click Remote Desktop (currently shows “Disabled”).
- Select Allow remote connections to this computer.
- Uncheck Allow connections only from computers running Remote Desktop with Network Level Authentication (easier for lab).
- Click OK, then OK to confirm.
Step 4: Install Active Directory Domain Services
Now we’ll install the AD DS role and promote this server to a domain controller.
Add the AD DS Role
- In Server Manager, click Manage (top-right menu).
- Select Add Roles and Features.
- Before You Begin page: Click Next.
- Installation Type: Select Role-based or feature-based installation > Next.
- Server Selection: Your server (DC1) should be selected > Next.
- Server Roles:
- Features: No additional selections needed > Next.
- AD DS: Review the information > Next.
- Confirmation:
- Review your selections
- Check Restart the destination server automatically if required
- Click Yes to confirm
- Click Install
- Installation progress displays—takes 5-10 minutes.
- When complete, you’ll see a warning notification flag at the top of Server Manager (yellow triangle).
- Do not close the wizard yet—we’ll promote to DC in the next step.
Promote Server to Domain Controller
- Click the yellow warning flag in Server Manager.
- Click Promote this server to a domain controller.
- Deployment Configuration:
- Select Add a new forest (this is your first domain controller)
- Root domain name: Enter
lab.local(common lab convention—you can use any name ending in .local) - Click Next
- Domain Controller Options:
- Forest functional level: Windows Server 2016 (maximum compatibility)
- Domain functional level: Windows Server 2016
- Ensure Domain Name System (DNS) server is checked (required)
- Ensure Global Catalog (GC) is checked (default for first DC)
- Directory Services Restore Mode (DSRM) password: Enter
Passw0rd!(used for AD recovery) - Confirm the password
- Click Next
- DNS Options:
- Warning about DNS delegation is normal for new forests
- Click Next
- Additional Options:
- NetBIOS domain name: Auto-filled as
LAB(extracted from lab.local) - Click Next
- NetBIOS domain name: Auto-filled as
- Paths: Accept defaults (database, log files, SYSVOL) > Next.
- Review Options: Review your configuration > Next.
- Prerequisites Check:
- Installation proceeds:
- Takes 10-20 minutes depending on hardware
- Server automatically reboots when complete
Verify Active Directory Installation
- Log back in after reboot:
- In Server Manager, you should now see:
- AD DS in the left navigation
- DNS also appears (installed automatically with AD)
- Verify Active Directory Users and Computers:
Congratulations! Your Active Directory domain controller is now fully operational.
Step 5: Create Your First User Account
Let’s test your new domain by creating a user account.
- Open Active Directory Users and Computers (Tools menu in Server Manager).
- Expand lab.local > right-click Users > New > User.
- New Object – User:
- First name: John
- Last name: Doe
- User logon name: jdoe
- Click Next
- Password settings:
- Password:
P@ssw0rd123 - Confirm password:
P@ssw0rd123 - Uncheck User must change password at next logon (for lab convenience)
- Check Password never expires (optional for labs)
- Click Next
- Password:
- Review the summary and click Finish.
- Verify: User
jdoenow appears in the Users container.
💡 Best Practice: In production environments, always require password changes at first logon and enforce regular password expiration. We disable these in labs for convenience.
Installing Windows 11 Client (Optional but Recommended)
To fully test Active Directory, add a Windows 11 client machine that joins your domain.
Quick Setup Steps
- Create new VM in VMware:
- Name:
Win11-Client1 - ISO: Windows 11 ISO file
- Memory: 4GB
- Disk: 40GB
- Network: Same as DC1 (NAT)
- Name:
- Install Windows 11:
- Choose Windows 11 Pro (Home edition can’t join domains)
- Create local user during setup
- Configure network:
- Static IP:
192.168.1.20 - Subnet:
255.255.255.0 - Gateway:
192.168.1.1 - DNS:
192.168.1.10(points to your DC1)
- Static IP:
- Join to domain:
- Settings > System > About > Domain or workgroup
- Click Change
- Select Domain and enter
lab.local - Click OK
- Enter
LAB\Administratorcredentials when prompted - Restart when prompted
- Test domain login:
- After reboot, click Other user
- Username:
jdoe - Password:
P@ssw0rd123 - Domain defaults to LAB
You can now log into your Windows 11 machine using domain accounts created in Active Directory !
Troubleshooting Common Issues
VM Won’t Boot or Runs Very Slowly
Problem: Virtual machine doesn’t start or performance is terrible.
Solution:
- Verify virtualization is enabled in BIOS/UEFI
- Restart computer and enter BIOS (usually F2, F10, Del, or Esc key during boot)
- Look for “Intel VT-x” or “AMD-V” or “Virtualization Technology”
- Enable the setting, save, and exit BIOS
No Internet Connectivity in VM
Problem: Cannot ping external addresses or download updates.
Solution:
- Check VMware network adapter is set to NAT or Bridged
- Verify your host computer has internet access
- In Windows Server, run
ipconfig /allto verify gateway and DNS settings - Try pinging your default gateway:
ping 192.168.1.1
Can’t Promote to Domain Controller
Problem: “Password does not meet complexity requirements” error during DC promotion.
Solution:
- Your administrator password must meet complexity requirements
- Change password before AD installation:
- Tools > Computer Management > Local Users and Groups > Users
- Right-click Administrator > Set Password
- Use complex password:
P@ssw0rd123
Client Can’t Join Domain
Problem: Windows 11 machine shows “Domain could not be contacted” when joining.
Solution:
- Verify client’s DNS points to domain controller IP (
192.168.1.10) - Ping domain controller from client:
ping 192.168.1.10 - Ping domain name from client:
ping lab.local - Ensure both VMs use same network type (both NAT or both Bridged)
- Check Windows Firewall isn’t blocking connections
Login Issues After Domain Promotion
Problem: Can’t log in using Ctrl+Alt+Del keyboard shortcut.
Solution:
- In VMware, use Ctrl+Alt+Insert instead of Ctrl+Alt+Del
- This sends the key combination to the VM instead of your host OS
Lab Configuration Reference
Here’s a quick reference table for your lab setup:
| Component | Configuration | Purpose |
|---|---|---|
| Desktop Experience | GUI mode selected during install | Provides familiar Windows interface for beginners |
| Static IP | 192.168.1.10 for DC1 | Required for stable Active Directory and DNS services |
| DNS Server | 127.0.0.1 (loopback) | Domain controller serves as its own DNS server |
| Administrator Password | Complex (e.g., P@ssw0rd123) | Required for AD DS installation and security |
| Domain Name | lab.local | Your internal domain (not internet-accessible) |
| Forest/Domain Functional Level | Windows Server 2016 | Maximum compatibility with older servers if needed |
| VMware Tools | Installed after OS setup | Improves performance, mouse, and display |
Next Steps: What to Practice
Your Active Directory lab is ready—now build practical skills:
Week 1: User and group management
- Create multiple user accounts with different attributes
- Build security groups and add users to them
- Practice password resets and account lockouts
- Create Organizational Units (OUs) to organize users by department
Week 2: Group Policy basics
- Create your first Group Policy Object (GPO)
- Configure desktop wallpaper restrictions
- Set password policies
- Map network drives automatically
Week 3: Domain client management
- Join Windows 11 clients to your domain
- Test domain user logins on different machines
- Configure folder redirection
- Practice troubleshooting authentication issues
Week 4: Advanced features
- Add a second domain controller for redundancy
- Configure Active Directory replication
- Implement fine-grained password policies
- Explore Active Directory Administrative Center
Key Takeaways
🖥️ Virtualization enables risk-free learning by allowing you to build complete enterprise environments on your personal computer using free software like VMware Player or VirtualBox.
⚙️ Proper configuration is critical for Active Directory to function correctly—static IP addresses, DNS settings, and complex passwords aren’t optional; they’re requirements for stable domain services.
📚 Hands-on practice beats theory when learning Active Directory. Reading documentation helps, but actually installing AD DS, creating users, and troubleshooting problems builds the real-world skills employers value.
Frequently Asked Questions
Q: How much does this lab cost to set up?
A: $0. VMware Workstation Player is free for non-commercial use, VirtualBox is completely free, and Windows Server evaluation versions run fully functional for 180 days. You can rebuild with fresh evaluations indefinitely.
Q: Can I run this lab on a laptop with 8GB RAM?
A: Yes, but with limitations. Allocate 4GB to your domain controller and 4GB to your host OS. You won’t have resources for additional client VMs running simultaneously. For comfortable multi-VM labs, 16GB RAM is recommended.
Q: What happens after the 180-day evaluation expires?
A: The server continues running but displays activation notifications. For labs, simply export your VM configuration notes, delete the old VM, and rebuild with a fresh evaluation ISO. Your practice and learning continue indefinitely.
Q: Should I use Server 2019, 2022, or 2025?
A: All three versions work identically for basic Active Directory functionality. Use 2025 for the latest features, or 2019/2022 if that’s what your workplace uses. The skills transfer completely between versions.
Q: Can I access my lab VMs from other computers on my network?
A: Yes. Change the VM network adapter from NAT to Bridged mode. Your VMs receive IP addresses on your home network and become accessible from other devices. Be cautious about exposing lab environments to the internet.
Q: Do I need to know PowerShell for this lab?
A: Not for basic setup. Everything in this guide uses graphical interfaces. As you advance, learning PowerShell dramatically increases efficiency, but it’s not required for beginners.
What’s Coming Next
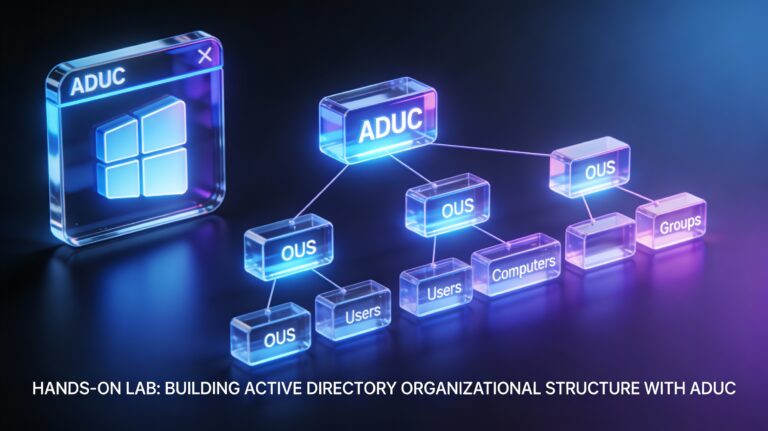
In the next post, we’ll dive into Active Directory organizational structure and user management, covering:
- Creating Organizational Units (OUs) to mirror real company structures
- Bulk user creation with PowerShell scripts
- Security group strategies and best practices
- Delegating administrative permissions safely
- Common user management scenarios from help desk support
Related Posts You’ll Find Helpful:
- “What is Active Directory? A Beginner’s Guide to AD Management” (Previous post)
- “Understanding Group Policy: Your First GPO Tutorial” (Coming soon)
- “Active Directory Security Best Practices for System Administrators” (Coming soon)
Have questions about your lab setup or running into issues not covered here? Drop a comment below with details about your configuration—I respond to every question and often update posts based on reader feedback.
Building your own lab is the single best investment in your IT career. Share this guide with others starting their Active Directory journey, and follow along as we explore advanced AD topics in upcoming posts. Happy labbing!