Theory teaches you concepts, but labs build the muscle memory that separates IT professionals from certificate collectors. Before installing Active Directory or configuring Group Policies, you need to master the foundation: network connectivity between servers and clients. If machines can’t communicate, nothing else matters.
This hands-on lab walks you through configuring a complete test environment with Windows Server 2025 and two Windows 11 client machines. You’ll learn proper naming conventions, static vs dynamic IP addressing, and—most importantly—how to troubleshoot when pings fail (they will, and you’ll fix it).
Reading Time: 18 minutes
Lab Duration: 45-60 minutes
What You’ll Learn:
- Setting up a multi-machine virtual lab environment
- Configuring friendly computer names for network management
- Assigning static IP addresses to servers vs DHCP for clients
- Testing network connectivity with ping commands
- Troubleshooting Windows Firewall blocking communication
- Verifying name resolution in workgroup environments
Lab Prerequisites:
- Hyper-V, VMware, or VirtualBox installed
- 1 Windows Server 2025 VM (from previous lab)
- 2 Windows 11 VMs created (4GB RAM each minimum)
- Basic command-line familiarity
Lab Objectives
By completing this hands-on lab, you will:
- Configure meaningful computer names on all virtual machines
- Assign a static IP address to Windows Server 2025
- Verify DHCP-assigned addresses on client machines
- Test bidirectional network connectivity using ping
- Troubleshoot and resolve firewall-blocked communication
- Verify DNS name resolution between machines
💡 Real-World Context: This exact lab scenario mirrors initial network setup in small business environments before joining machines to Active Directory domains. The skills transfer directly to production scenarios.
Lab Environment Overview
Virtual Machines Required
| Machine | OS | Role | RAM | Purpose |
|---|---|---|---|---|
| W2025 | Windows Server 2025 | Server | 8GB | Future domain controller |
| W11-1 | Windows 11 Pro | Client | 4GB | Test workstation 1 |
| W11-2 | Windows 11 Pro | Client | 4GB | Test workstation 2 |
Network Architecture
Network Type: Private Class C network (NAT or Internal network in your hypervisor)
Network Details:
- Network ID: 192.168.223.0/24
- Subnet Mask: 255.255.255.0
- Usable Range: 192.168.223.1 – 192.168.223.254
- Default Gateway: 192.168.223.2 (provided by hypervisor)
- Broadcast Address: 192.168.223.255
IP Address Assignment Plan
| Machine | Computer Name | IP Address | Assignment Type | DNS Server |
|---|---|---|---|---|
| Server | W2025 | 192.168.223.134 | Static | 192.168.223.2 |
| Client 1 | W11-1 | 192.168.223.131 | DHCP (automatic) | 192.168.223.2 |
| Client 2 | W11-2 | 192.168.223.132 | DHCP (automatic) | 192.168.223.2 |
⚠️ Important: Your hypervisor (VMware/VirtualBox/Hyper-V) may use different network ranges like 192.168.1.x or 10.0.0.x. Adjust IP addresses accordingly while maintaining the static/DHCP strategy.
Part 1: Configuring Computer Names
Friendly computer names dramatically simplify network administration compared to cryptic system-generated names like “DESKTOP-7QK3M9B.” Let’s configure meaningful names for all machines.
Why Computer Naming Matters
Administrative efficiency: Typing ping W2025 is easier than remembering random alphanumeric strings.
Network visibility: Descriptive names help identify machine roles and locations at a glance.
Troubleshooting clarity: Event logs and network traces become readable when computers have logical names.
Documentation: Network diagrams and procedures remain accurate when names reflect actual machine purposes.
Task 1.1: Rename Windows Server 2025
Duration: 5 minutes
Steps:
- Log into your Windows Server 2025 VM as Administrator.
- Open Server Manager (launches automatically on login).
- Navigate to Local Server:
- Click Local Server in the left navigation pane
- The center pane displays server properties
- Change computer name:
- Locate the Computer name property (shows current name)
- Click the blue computer name link
- The System Properties window opens on the Computer Name tab
- Rename the server:
- Click Change button
- In the Computer name field, enter:
W2025 - Member of: Verify Workgroup is selected (not Domain)
- Workgroup name: Leave as
WORKGROUP(default) - Click OK
- Confirm restart:
- You’ll see a message: “You must restart your computer to apply these changes”
- Click OK
- Click Close in System Properties
- Click Restart Now when prompted
- Wait for reboot:
- Server restarts (takes 1-2 minutes)
- Log back in as Administrator after reboot
- Verify the change:
- Server Manager opens automatically
- Check Local Server → Computer name now shows
W2025
Expected Result: Server computer name is now W2025 in a workgroup environment.
Task 1.2: Rename Windows 11 Client Machines
Duration: 10 minutes (5 minutes per client)
Repeat these steps on both Windows 11 VMs:
For W11-1:
- Log into Windows 11 Client 1 VM.
- Open System Properties (multiple methods):
- Method 1: Right-click Start → System → scroll down → Rename this PC (advanced)
- Method 2: Press Windows + R → type
sysdm.cpl→ press Enter - Method 3: Control Panel → System → Change settings (under Computer name)
- Change computer name:
- In the Computer Name tab, click Change
- Enter computer name:
W11-1 - Member of: Select Workgroup
- Workgroup name:
WORKGROUP - Click OK
- Restart:
- Click OK to acknowledge restart requirement
- Click Close
- Click Restart Now
- Verify after reboot:
- Open Command Prompt: Press Windows + R → type
cmd→ Enter - Type:
hostname - Press Enter
- Output should display:
W11-1
- Open Command Prompt: Press Windows + R → type
For W11-2:
Repeat the exact same process, but name the computer W11-2 instead.
Verification Command:
hostname
Expected Output:
W11-1
(or W11-2 on the second client)
💡 Pro Tip: In enterprise environments, use naming conventions that identify location, role, and function. Examples:
NYC-DC01(New York domain controller),CHI-WS-HR-05(Chicago workstation, HR department, #5).
Part 2: Network Configuration
Now that machines have logical names, configure network settings—static IPs for servers, DHCP for clients.
Understanding Static vs DHCP
Static IP (Servers):
- Manually assigned and never changes
- Required for servers providing services (DNS, DHCP, domain controllers)
- Prevents service disruption if DHCP server fails
- Clients need consistent addresses to find servers
DHCP IP (Clients):
- Automatically assigned by DHCP server (or hypervisor)
- Changes periodically or when machine moves networks
- Reduces administrative overhead for workstations
- Appropriate for non-server machines
🔐 Best Practice: Servers always get static IPs. Clients can use DHCP unless they host services or have special requirements.
Task 2.1: Configure Static IP on Windows Server 2025
Duration: 8 minutes
Steps:
- Open Server Manager (if not already open).
- Navigate to Local Server:
- Click Local Server in left navigation
- Locate Ethernet or network adapter (shows current IP configuration)
- Quick method – Network Connections:
- Press Windows + R
- Type:
ncpa.cpl - Press Enter
- This opens Network Connections directly (bypasses several clicks)
- Access adapter properties:
- Right-click your Ethernet adapter (or network adapter name)
- Select Properties
- Configure IPv4:
- Scroll and locate Internet Protocol Version 4 (TCP/IPv4)
- Uncheck “Internet Protocol Version 6 (TCP/IPv6)” if not using IPv6 (optional but common in labs)
- Double-click Internet Protocol Version 4 (TCP/IPv4)
- Enter static IP settings:
- Select Use the following IP address
- Enter the following values:
IP address: 192.168.223.134 Subnet mask: 255.255.255.0 Default gateway: 192.168.223.2 - Configure DNS:
- Select Use the following DNS server addresses
Preferred DNS server: 192.168.223.2 Alternate DNS server: 8.8.8.8- The preferred DNS (192.168.223.2) points to your hypervisor’s DNS
- Alternate DNS (8.8.8.8) is Google’s public DNS as backup
- Save configuration:
- Click OK in the IPv4 Properties window
- Click Close in the adapter Properties window
- Refresh Server Manager:
- In Server Manager → Local Server
- Press F5 or click the refresh icon
- The Ethernet property updates to show your new static IP: 192.168.223.134
- Verify configuration:
- Open Command Prompt: Press Windows + R → type
cmd→ Enter - Type:
ipconfig /all - Press Enter
- Open Command Prompt: Press Windows + R → type
Expected Output:
Ethernet adapter Ethernet0:

   Connection-specific DNS Suffix  . :
   Description . . . . . . . . . . . : Intel(R) 82574L Gigabit Network Connection
   Physical Address. . . . . . . . . : 00-0C-29-XX-XX-XX
   DHCP Enabled. . . . . . . . . . . : No
   Autoconfiguration Enabled . . . . : Yes
   IPv4 Address. . . . . . . . . . . : 192.168.223.134(Preferred)
   Subnet Mask . . . . . . . . . . . : 255.255.255.0
   Default Gateway . . . . . . . . . : 192.168.223.2
   DNS Servers . . . . . . . . . . . : 192.168.223.2
                                       8.8.8.8
Key verification points:
- DHCP Enabled: Should show “No”
- IPv4 Address: Shows your static IP (192.168.223.134)
- Default Gateway and DNS: Match your configuration
Lab Checkpoint: Your server now has a permanent, static IP address that won’t change.
Task 2.2: Verify DHCP Configuration on Client Machines
Duration: 5 minutes per client
Client machines can remain on DHCP for this lab. Let’s verify their automatic configuration.
On W11-1 and W11-2:
- Open Command Prompt:
- Press Windows + R
- Type:
cmd - Press Enter
- Check IP configuration:
- Type:
ipconfig /all - Press Enter
- Type:
- Review output:
Expected Output (W11-1):
Ethernet adapter Ethernet0:

   Connection-specific DNS Suffix  . :
   Description . . . . . . . . . . . : Intel(R) 82574L Gigabit Network Connection
   Physical Address. . . . . . . . . : 00-0C-29-YY-YY-YY
   DHCP Enabled. . . . . . . . . . . : Yes
   Autoconfiguration Enabled . . . . : Yes
   IPv4 Address. . . . . . . . . . . : 192.168.223.131(Preferred)
   Subnet Mask . . . . . . . . . . . : 255.255.255.0
   Lease Obtained. . . . . . . . . . : [Date and Time]
   Lease Expires . . . . . . . . . . : [Date and Time]
   Default Gateway . . . . . . . . . : 192.168.223.2
   DHCP Server . . . . . . . . . . . : 192.168.223.254
   DNS Servers . . . . . . . . . . . : 192.168.223.2
Key verification points:
- DHCP Enabled: Should show “Yes”
- IPv4 Address: Automatically assigned (likely in 192.168.223.x range)
- DHCP Server: Shows the address providing automatic configuration
- Lease Obtained/Expires: Shows DHCP lease timing
- Verify hostname:
- Type:
hostname - Press Enter
- Should display:
W11-1(orW11-2on second client)
- Type:
📝 Note: Your exact IP addresses may differ based on your hypervisor’s DHCP pool. That’s expected and fine for this lab. The important point is understanding static vs DHCP assignment.
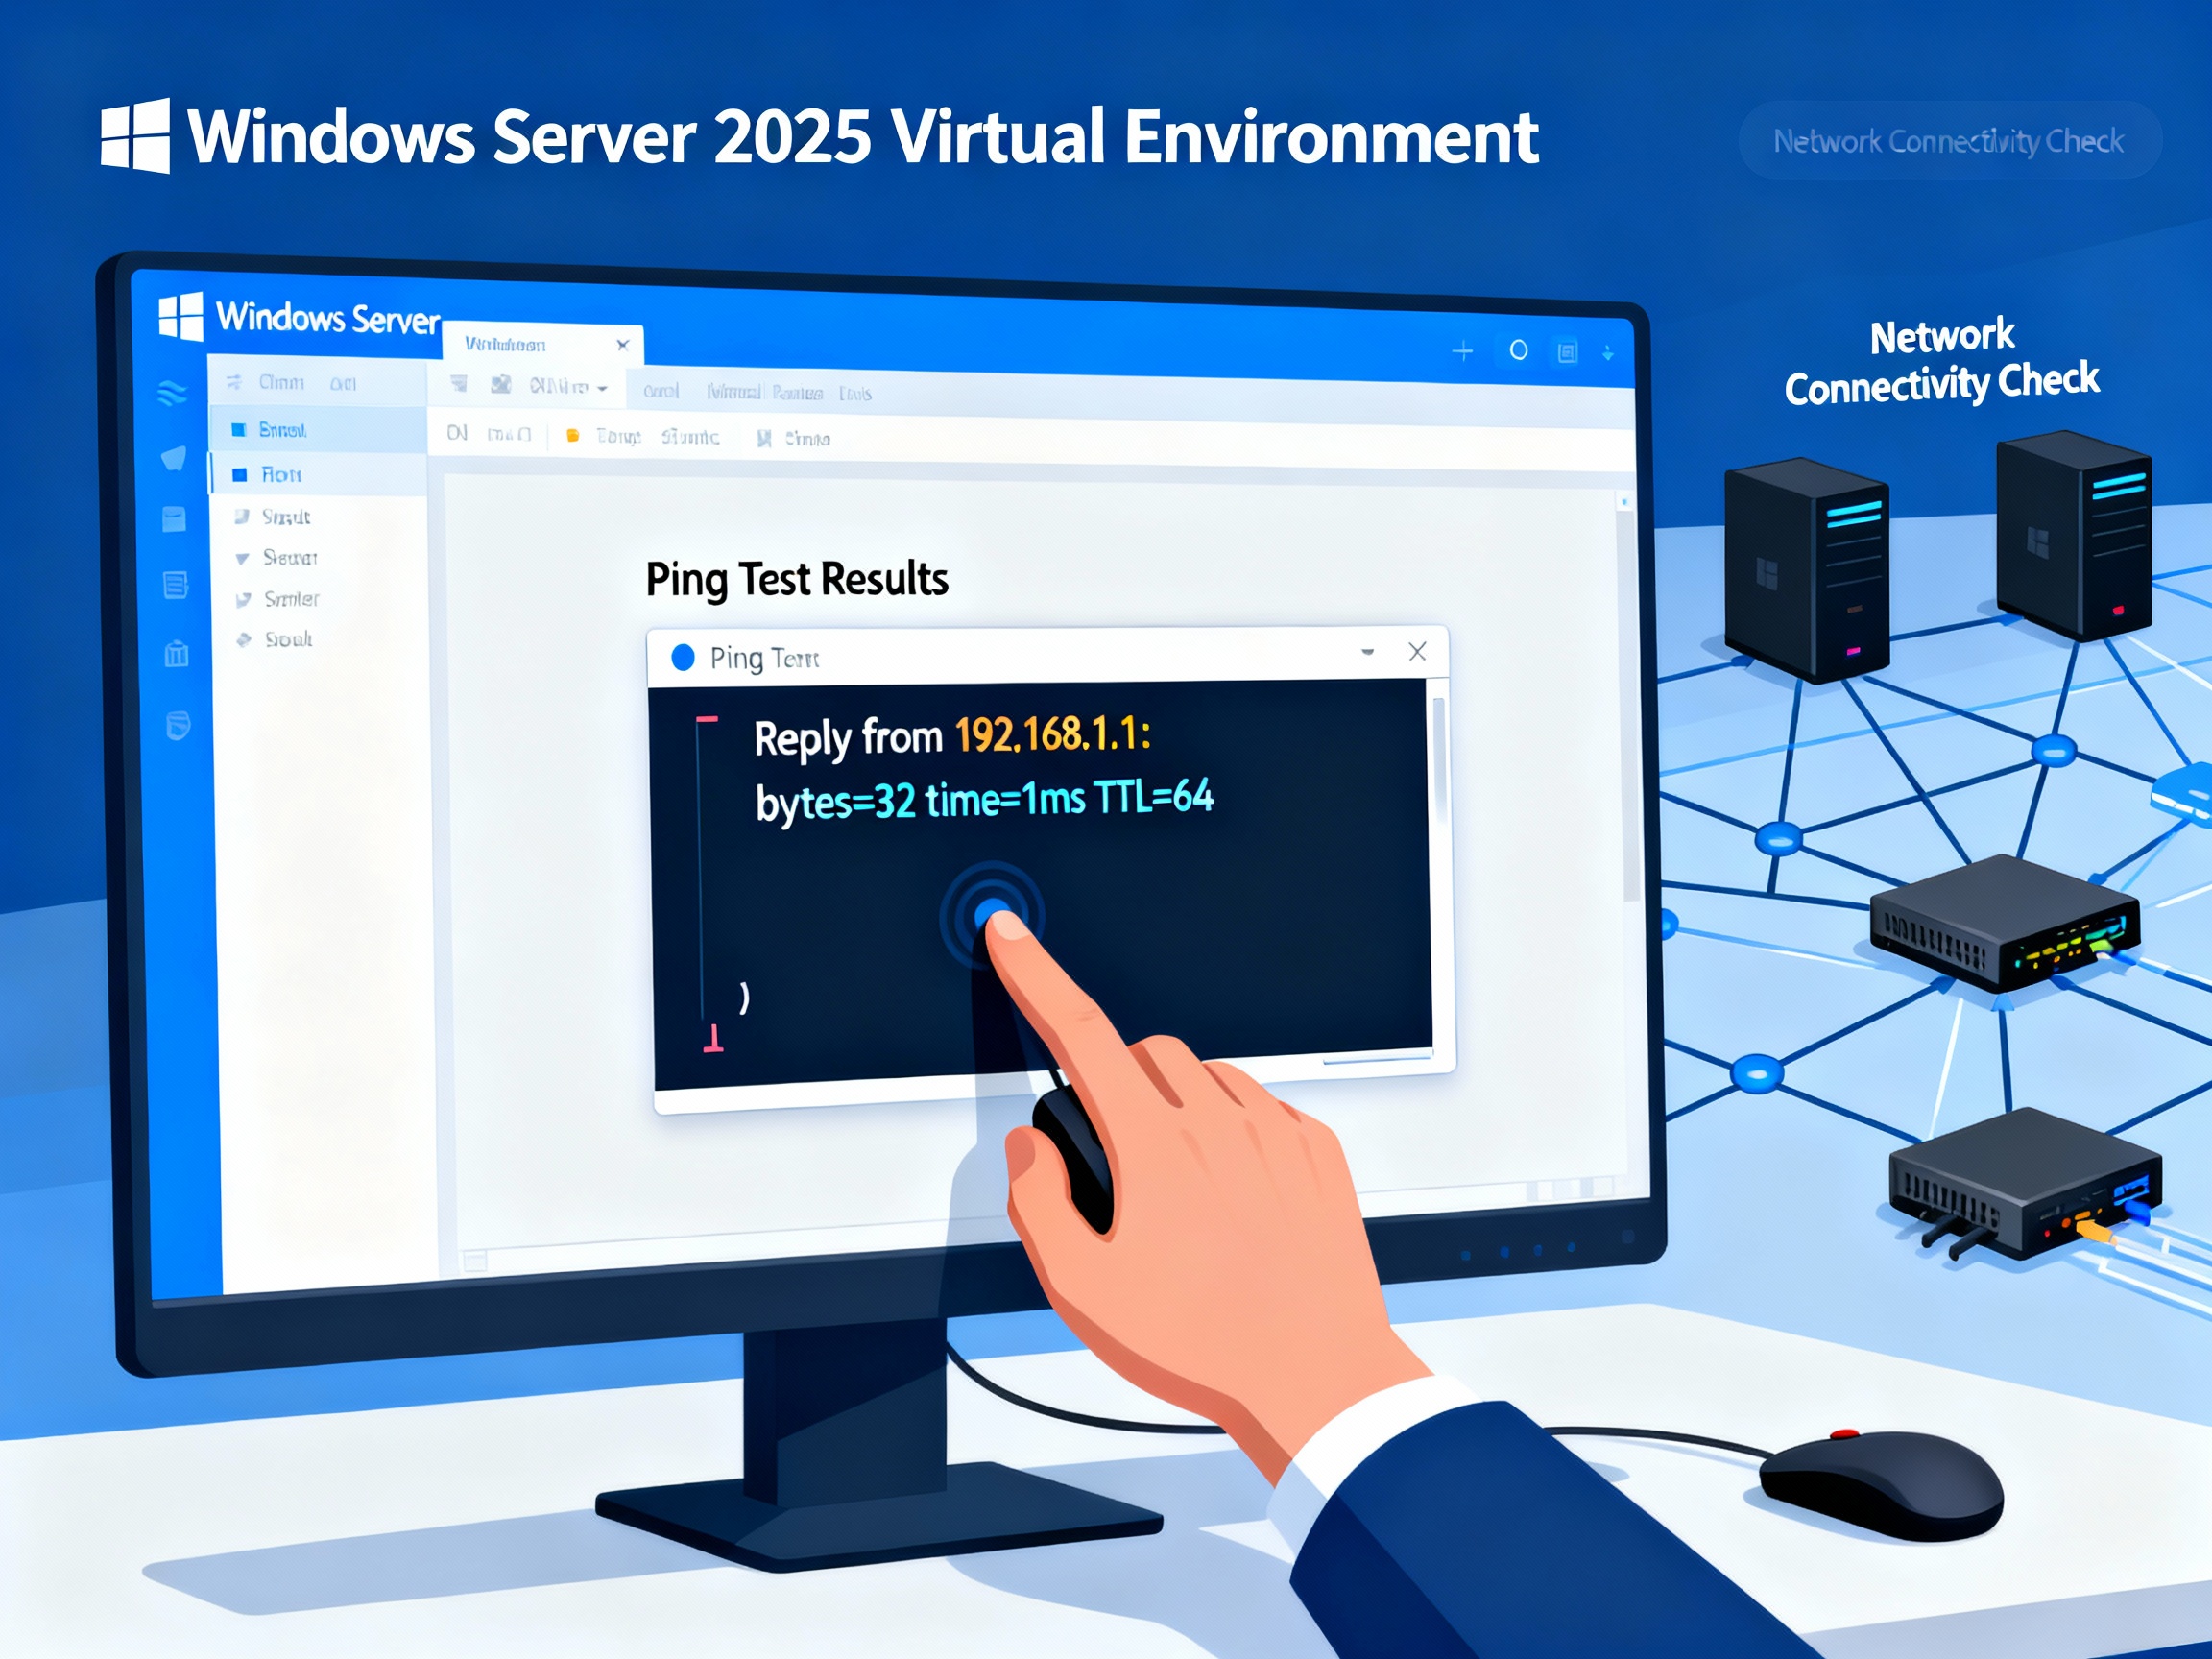
Part 3: Network Connectivity Testing
With names and IPs configured, test whether machines can actually communicate. This is where most beginners encounter the dreaded “Request timed out” message—we’ll fix it.
Understanding the Ping Command
Ping uses ICMP (Internet Control Message Protocol) to test network reachability. It sends packets to a target and measures response time.
Syntax:
ping [IP address or hostname]
ping [IP address or hostname] -t
Parameters:
- -t: Continuous ping (runs until stopped with Ctrl+C)
- -n [count]: Send specific number of packets (e.g.,
ping 192.168.223.134 -n 10) - -a: Resolve address to hostname
Task 3.1: Initial Connectivity Testing (Expected to Fail)
Duration: 10 minutes
This task intentionally demonstrates the most common networking issue beginners face: firewall blocking.
From W2025 (Server) to W11-1 (Client):
- Open Command Prompt on W2025 server.
- Ping by IP address:text
ping 192.168.223.131 -t - Observe the result:
Expected Output (FAILURE):
Pinging 192.168.223.131 with 32 bytes of data:
Request timed out.
Request timed out.
Request timed out.
Request timed out.

Ping statistics for 192.168.223.131:
    Packets: Sent = 4, Received = 0, Lost = 4 (100% loss),
- Stop continuous ping:
- Press Ctrl + C to stop the ping command
- Try pinging by name:text
ping W11-1 -t
Expected Output (FAILURE):
Ping request could not find host W11-1. Please check the name and try again.
🔍 What’s Happening? Windows Firewall blocks incoming ICMP (ping) requests by default for security. Even though machines are on the same network and properly configured, the firewall prevents communication testing.
Lab Checkpoint: You’ve confirmed the expected behavior—firewalls block ping by default. Now let’s fix it.
Part 4: Troubleshooting Firewall Issues
Connectivity failures teach more than immediate success. Let’s troubleshoot systematically.
Understanding Why Firewalls Block Ping
Security rationale:
- ICMP packets can reveal network topology to attackers
- Ping floods (DoS attacks) overwhelm systems
- Blocking ping reduces attack surface
Lab vs Production:
- Labs: Disable firewalls for easier testing and learning
- Production: Configure firewall rules to allow specific ICMP traffic while maintaining security
⚠️ Critical Warning: ONLY disable firewalls in isolated lab environments. NEVER disable production firewalls. In real environments, create specific firewall rules allowing ICMP between trusted devices.
Task 4.1: Disable Windows Firewall on Client Machines
Duration: 5 minutes per client
Perform these steps on both W11-1 and W11-2:
- Open Control Panel:
- Press Windows + R
- Type:
control panel - Press Enter
- Change view to Large Icons:
- In the top-right corner, change View by: from “Category” to Large icons
- This displays all Control Panel items alphabetically
- Open Windows Defender Firewall:
- Scroll and click Windows Defender Firewall
- Disable firewall:
- In the left sidebar, click Turn Windows Defender Firewall on or off
- You may need to provide administrator credentials
- Disable all network profiles:Under Private network settings:
- Select Turn off Windows Defender Firewall (not recommended)
- Select Turn off Windows Defender Firewall (not recommended)
- Save changes:
- Click OK
- The main firewall window now shows red shields with X marks
- Verify firewall is off:
- The firewall status should display “Windows Defender Firewall is not using recommended settings”
Repeat on W11-2 following identical steps.
Task 4.2: Disable Windows Firewall on Server
Duration: 5 minutes
On W2025 (Server):
- Open Server Manager (if not already open).
- Navigate to Local Server:
- Click Local Server in left navigation pane
- Access Windows Firewall:
- Locate Windows Defender Firewall property (shows current state: “Public: On”)
- Click the Public: On link
- Alternative method (faster):
- Press Windows + R
- Type:
firewall.cpl - Press Enter
- Open firewall settings:
- Click Turn Windows Defender Firewall on or off in left sidebar
- Disable all profiles:Under Domain network settings:
- Select Turn off Windows Defender Firewall (not recommended)
- Select Turn off Windows Defender Firewall (not recommended)
- Select Turn off Windows Defender Firewall (not recommended)
- Save and verify:
- Click OK
- Return to Server Manager → Local Server
- Press F5 to refresh
- Windows Defender Firewall should now show “Off” for all networks
Lab Checkpoint: All three machines now have firewalls disabled for testing purposes.
Part 5: Successful Connectivity Testing
With firewalls disabled, test full bidirectional communication between all machines.
Task 5.1: Test Server to Client Communication
Duration: 5 minutes
From W2025 (Server):
- Open Command Prompt (if not already open).
- Ping W11-1 by IP address:text
ping 192.168.223.131 -t
Expected Output (SUCCESS):
Pinging 192.168.223.131 with 32 bytes of data:
Reply from 192.168.223.131: bytes=32 time<1ms TTL=128
Reply from 192.168.223.131: bytes=32 time<1ms TTL=128
Reply from 192.168.223.131: bytes=32 time<1ms TTL=128
Reply from 192.168.223.131: bytes=32 time<1ms TTL=128
Key indicators of success:
- Reply from: Shows responses received
- time<1ms: Very fast response (local network)
- TTL=128: Time To Live (Windows default is 128)
- Stop continuous ping:
- Press Ctrl + C
- Ping W11-1 by computer name:text
ping W11-1 -t
Expected Output (SUCCESS with name resolution):
Pinging W11-1 [192.168.223.131] with 32 bytes of data:
Reply from 192.168.223.131: bytes=32 time<1ms TTL=128
Reply from 192.168.223.131: bytes=32 time<1ms TTL=128
Reply from 192.168.223.131: bytes=32 time<1ms TTL=128
Reply from 192.168.223.131: bytes=32 time<1ms TTL=128
Critical observation: Notice the first line shows Pinging W11-1 [192.168.223.131]—this confirms name resolution is working. The computer name automatically resolved to the IP address.
- Stop ping and test W11-2:text
ping W11-2 -t
Expected Output:
Pinging W11-2 [192.168.223.132] with 32 bytes of data:
Reply from 192.168.223.132: bytes=32 time<1ms TTL=128
Reply from 192.168.223.132: bytes=32 time<1ms TTL=128
- Stop continuous ping:
- Press Ctrl + C
Lab Checkpoint: Server successfully communicates with both client machines by IP and by name.
Task 5.2: Test Client to Server Communication
Duration: 3 minutes
From W11-1 (Client):
- Open Command Prompt.
- Ping server by name:text
ping W2025 -t
Expected Output:
Pinging W2025 [192.168.223.134] with 32 bytes of data:
Reply from 192.168.223.134: bytes=32 time<1ms TTL=128
Reply from 192.168.223.134: bytes=32 time<1ms TTL=128
Reply from 192.168.223.134: bytes=32 time<1ms TTL=128
- Stop ping:
- Press Ctrl + C
Lab Checkpoint: Client machines can reach the server successfully.
Task 5.3: Test Client-to-Client Communication
Duration: 3 minutes
From W11-1:
- Ping the other client by name:text
ping W11-2 -t
Expected Output:
Pinging W11-2 [192.168.223.132] with 32 bytes of data:
Reply from 192.168.223.132: bytes=32 time<1ms TTL=128
Reply from 192.168.223.132: bytes=32 time<1ms TTL=128
- Stop ping:
- Press Ctrl + C
From W11-2:
- Ping back to W11-1:text
ping W11-1 -t
Expected Output:
Pinging W11-1 [192.168.223.131] with 32 bytes of data:
Reply from 192.168.223.131: bytes=32 time<1ms TTL=128
- Stop ping:
- Press Ctrl + C
Lab Checkpoint: All machines communicate bidirectionally—server to clients, clients to server, and clients to each other.
Part 6: Understanding Name Resolution
You successfully pinged machines by name (W2025, W11-1, W11-2) without using IP addresses. How did Windows resolve names to IPs?
NetBIOS Name Resolution in Workgroups
In workgroup environments (not Active Directory domains), Windows uses NetBIOS over TCP/IP for name resolution:
- Local cache check: Windows checks if it recently resolved this name
- Broadcast: If not cached, broadcasts on local network asking “Who has this name?”
- Response: Machine with that name responds with its IP address
- Communication: Original machine uses the IP to communicate
Limitations:
- Only works on local subnet (doesn’t cross routers)
- Broadcasts create network overhead
- Not scalable for large networks
Active Directory improvement:
- Domain environments use DNS instead of broadcasts
- Scales to thousands of machines
- Works across routers and subnets
- Centralized management
💡 Future Lab Note: Once you install Active Directory, DNS replaces NetBIOS for name resolution, providing enterprise-scale capabilities.
Lab Verification Checklist
Confirm you’ve successfully completed all tasks:
Computer Names
- Server named: W2025
- Client 1 named: W11-1
- Client 2 named: W11-2
- All machines in WORKGROUP (not domain-joined)
Network Configuration
- Server has static IP: 192.168.223.134
- Client 1 has DHCP-assigned IP (192.168.223.131 or similar)
- Client 2 has DHCP-assigned IP (192.168.223.132 or similar)
- All machines have correct gateway and DNS settings
Connectivity Testing
- Server pings W11-1 by IP successfully
- Server pings W11-1 by name successfully
- Server pings W11-2 by IP successfully
- Server pings W11-2 by name successfully
- W11-1 pings W2025 successfully
- W11-2 pings W2025 successfully
- W11-1 pings W11-2 successfully (bidirectional)
Name Resolution
- Pinging by computer name resolves to correct IP address
- Name appears in brackets in ping output (e.g.,
Pinging W2025 [192.168.223.134])
If any checkbox remains unchecked, review the corresponding section and troubleshoot before proceeding to Active Directory installation.
Troubleshooting Common Issues
Ping Still Fails After Disabling Firewall
Problem: Ping requests still time out despite firewall being off.
Solutions:
- Verify firewall status:text
netsh advfirewall show allprofiles stateAll profiles should show “State: OFF” - Check VM network adapter settings:
- Ensure all VMs use the same network type (all NAT or all Bridged)
- Mixed network types prevent communication
- Restart network adapter:
- Press Windows + R → type
ncpa.cpl→ Enter - Right-click adapter → Disable
- Wait 5 seconds
- Right-click adapter → Enable
- Press Windows + R → type
- Flush ARP cache:text
arp -d ipconfig /flushdns
Name Resolution Fails (Ping by IP Works, Ping by Name Fails)
Problem: ping 192.168.223.131 succeeds, but ping W11-1 fails.
Solutions:
- Verify computer names match:
- On each machine, run:
hostname - Names must match exactly (case-insensitive)
- On each machine, run:
- Clear NetBIOS cache:text
nbtstat -R nbtstat -RR - Check NetBIOS is enabled:
- Network adapter properties → IPv4 → Advanced → WINS tab
- Ensure “Enable NetBIOS over TCP/IP” is selected
- Add to hosts file (temporary workaround):
- Edit:
C:\Windows\System32\drivers\etc\hosts - Add line:
192.168.223.131 W11-1
- Edit:
DHCP Not Assigning IP Addresses
Problem: Client shows 169.254.x.x address (APIPA) instead of 192.168.223.x.
Solutions:
- Verify VM network settings:
- Check hypervisor DHCP is enabled for the virtual network
- VMware: Virtual Network Editor → NAT → DHCP Settings
- VirtualBox: File → Host Network Manager → DHCP Server enabled
- Hyper-V: Virtual Switch Manager → verify NAT or External switch
- Release and renew:text
ipconfig /release ipconfig /renew - Restart DHCP Client service:text
net stop "DHCP Client" net start "DHCP Client"
Cannot Communicate Outside Local Network
Problem: Machines ping each other but can’t reach internet or other networks.
Solutions:
- Verify default gateway:text
ipconfig /allCheck “Default Gateway” is set (usually 192.168.223.2) - Test gateway connectivity:text
ping 192.168.223.2If this fails, gateway isn’t reachable - Check DNS configuration:text
nslookup google.comShould resolve to Google’s IP address - Verify host computer connectivity:
- If host can’t reach internet, VMs won’t either
- Check host network connection first
Key Commands Reference
Bookmark these commands for quick troubleshooting:
Network Configuration
# Display full network configuration
ipconfig /all

# Display only IP address info
ipconfig

# Release DHCP-assigned IP
ipconfig /release

# Obtain new DHCP IP
ipconfig /renew

# Flush DNS resolver cache
ipconfig /flushdns

# Open Network Connections
ncpa.cpl
Connectivity Testing
# Ping by IP address
ping 192.168.223.134

# Continuous ping (stop with Ctrl+C)
ping 192.168.223.134 -t

# Ping specific number of times
ping 192.168.223.134 -n 10

# Ping by computer name
ping W2025

# Resolve IP to hostname while pinging
ping -a 192.168.223.134
Name Resolution
# Display computer name
hostname

# Display NetBIOS name cache
nbtstat -c

# Reload NetBIOS cache
nbtstat -R

# Release and re-register NetBIOS names
nbtstat -RR

# DNS lookup
nslookup W2025
Firewall Management
# Check firewall status (all profiles)
netsh advfirewall show allprofiles state

# Open Windows Firewall
firewall.cpl

# Disable firewall (Domain profile)
netsh advfirewall set domainprofile state off

# Disable firewall (Private profile)
netsh advfirewall set privateprofile state off

# Disable firewall (Public profile)
netsh advfirewall set publicprofile state off

# Re-enable all profiles
netsh advfirewall set allprofiles state on
Configuration Summary Table
| Setting | W2025 (Server) | W11-1 (Client) | W11-2 (Client) |
|---|---|---|---|
| Computer Name | W2025 | W11-1 | W11-2 |
| Workgroup | WORKGROUP | WORKGROUP | WORKGROUP |
| IP Assignment | Static | DHCP | DHCP |
| IP Address | 192.168.223.134 | 192.168.223.131* | 192.168.223.132* |
| Subnet Mask | 255.255.255.0 | 255.255.255.0 | 255.255.255.0 |
| Default Gateway | 192.168.223.2 | 192.168.223.2 | 192.168.223.2 |
| DNS Server | 192.168.223.2 | 192.168.223.2 | 192.168.223.2 |
| Firewall | OFF (lab only) | OFF (lab only) | OFF (lab only) |
*Client IPs may vary depending on DHCP assignment
Key Takeaways
🖥️ Servers require static IP addresses to provide consistent, reliable services. DHCP-assigned addresses that change break server dependencies and disrupt network services.
🔥 Windows Firewall blocks ping by default for security reasons. In isolated lab environments, disabling firewalls simplifies testing. In production, create specific firewall rules allowing ICMP traffic between trusted devices.
📡 Name resolution works differently in workgroups vs domains. Workgroups use NetBIOS broadcasts for local name resolution, which doesn’t scale. Active Directory domains use DNS, providing enterprise-scale name resolution across subnets and geographic locations.
🛠️ Systematic troubleshooting saves time. Test by IP first (verifies routing), then test by name (verifies name resolution). This isolates whether problems are network-level or name-resolution-level.
Frequently Asked Questions
Q: Why do servers need static IPs if DHCP reservations exist?
A: DHCP reservations require a functioning DHCP server. If the DHCP server fails, machines with reservations can’t obtain IPs. Servers with static IPs continue functioning regardless of DHCP server status, ensuring critical services remain available.
Q: Can I leave firewalls disabled permanently in my lab?
A: For completely isolated lab environments with no internet connectivity, yes. If your lab VMs have internet access (NAT networking), re-enable firewalls after testing completes to prevent potential malware infections or unauthorized access.
Q: What if my hypervisor uses a different network range (like 192.168.1.x)?
A: That’s completely fine. Use whatever range your hypervisor provides. The important concept is understanding static vs DHCP assignment, not memorizing specific IP addresses. Adjust IPs to match your network while maintaining the configuration strategy.
Q: Why do some organizations prefer Hyper-V while others use VMware?
A: Windows-centric shops often prefer Hyper-V for native integration and licensing simplicity. Mixed-OS environments (Windows + Linux) often choose VMware for better non-Windows guest support. Both are excellent platforms—learning multiple hypervisors increases career flexibility.
Q: Will ping work across subnets or VLANs?
A: Yes, if routers are configured to forward ICMP traffic. NetBIOS name resolution (used in this lab) does NOT work across subnets without WINS servers. This is another reason Active Directory with DNS is critical for enterprise networks.
Q: How do I re-enable firewalls after lab completion?
A: Use the same process to access firewall settings, but select “Turn on Windows Defender Firewall” for all profiles. Alternatively, run: netsh advfirewall set allprofiles state on
Next Steps: Active Directory Installation
Your lab environment is now fully functional with proper naming, network configuration, and verified connectivity—the perfect foundation for Active Directory installation.
Coming in the next lab: “Installing and Configuring Active Directory Domain Services on Windows Server 2025” where you’ll:
- Install the AD DS role on W2025
- Promote W2025 to a domain controller
- Create your first domain forest
- Configure DNS integration
- Join W11-1 and W11-2 to your domain
- Test domain authentication
Related Labs:
- “Creating Organizational Units and User Accounts in Active Directory”
- “Group Policy Basics: Your First GPO Configuration”
- “Active Directory Backup and Recovery Procedures”
Have questions about network configuration or encountering connectivity issues? Drop a comment below with your specific scenario, including error messages and ipconfig output—I’ll help troubleshoot.
Mastering network fundamentals separates IT professionals who understand systems from those who just click buttons. Save this lab for future reference, share it with peers learning networking basics, and follow along as we build complete Active Directory environments in upcoming labs!